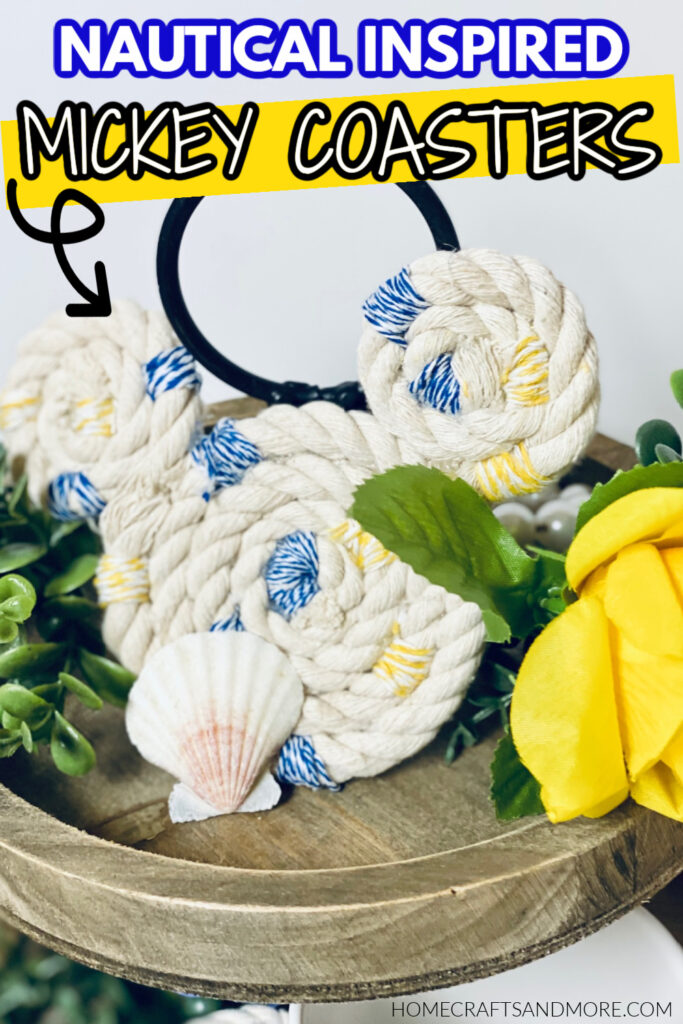
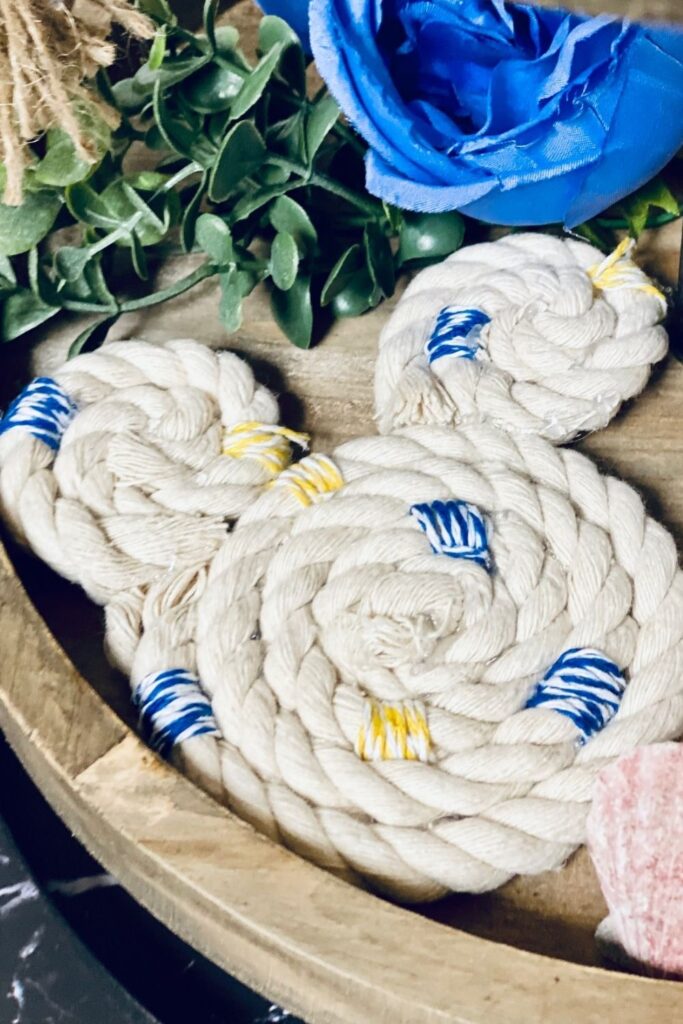
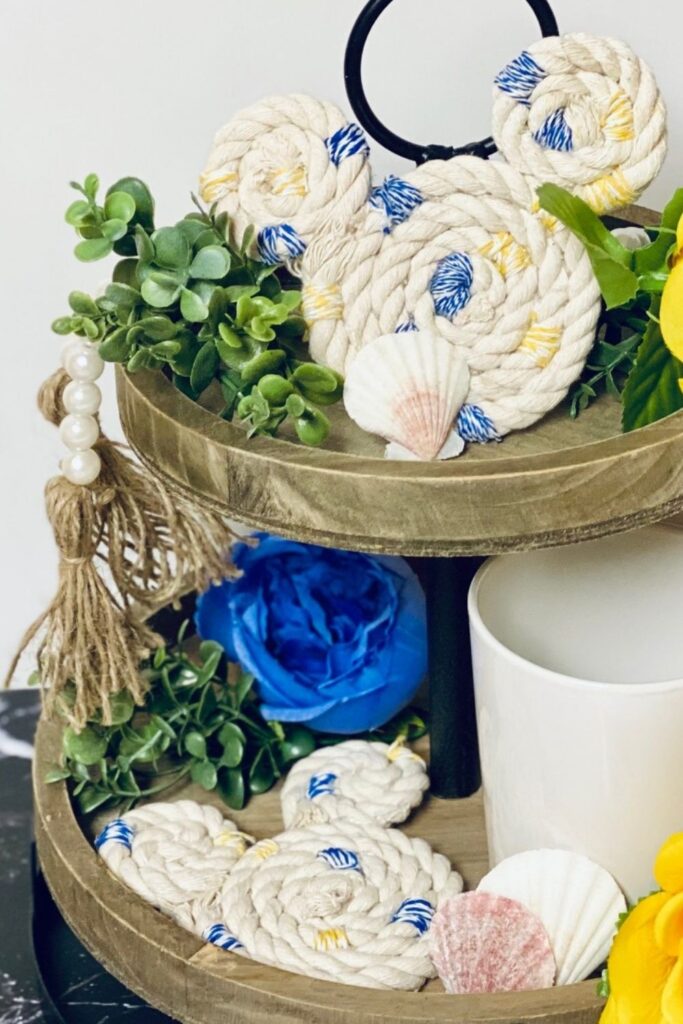
Dive deep in the ocean with these Ariel sea-inspired Mickey Mouse Coasters! A nautical rope coaster that gives you a creative Mickey Mouse home decor piece to put out on display.

This is a Dollar Store craft for the home that is simple to do, and fun. A Little Mermaid craft that is fun, and a fun Disney coasters set to place out on display.
Why You Will Love This Mickey Mouse Coasters DIY
- You can find all items at the Dollar Store or even Dollar Tree.
- A DIY Nautical Rope Coaster set that costs minimal to make.
- A Disney drink coaster that is so fun!
- If you love mermaids and Mickey Mouse this is a fun DIY craft
- Gift to a Disney fan
What You Need To Make This Disney Princess Coasters Set
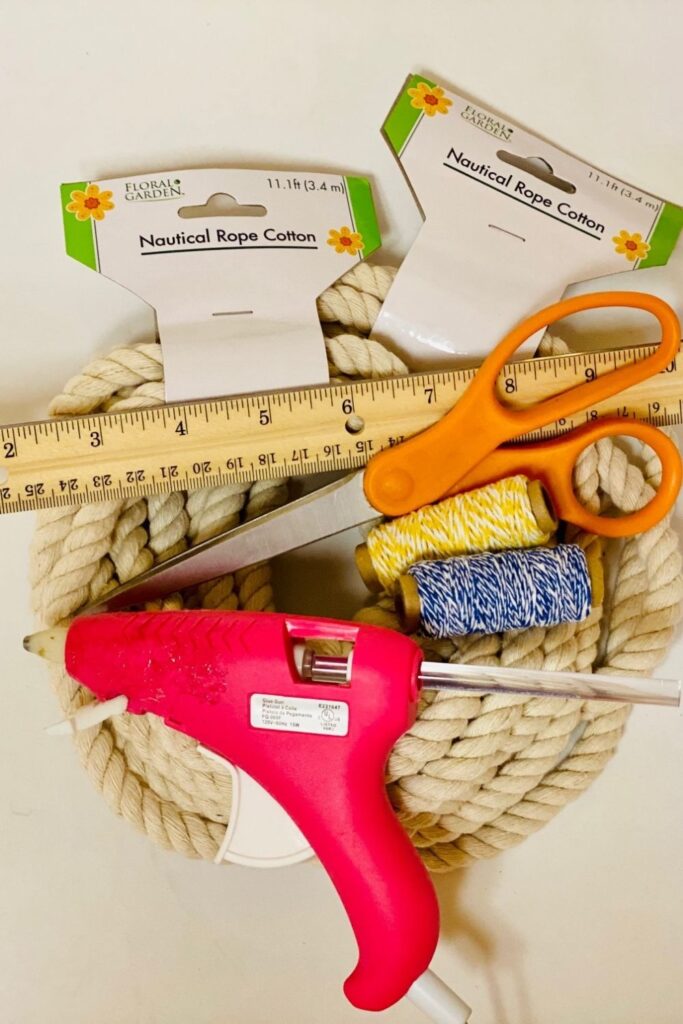
Here are what you need for this little mermaid DIY craft idea with a fun Mickey Mouse spin!
- Nautical Rope
- Hot Glue Gun and Glue
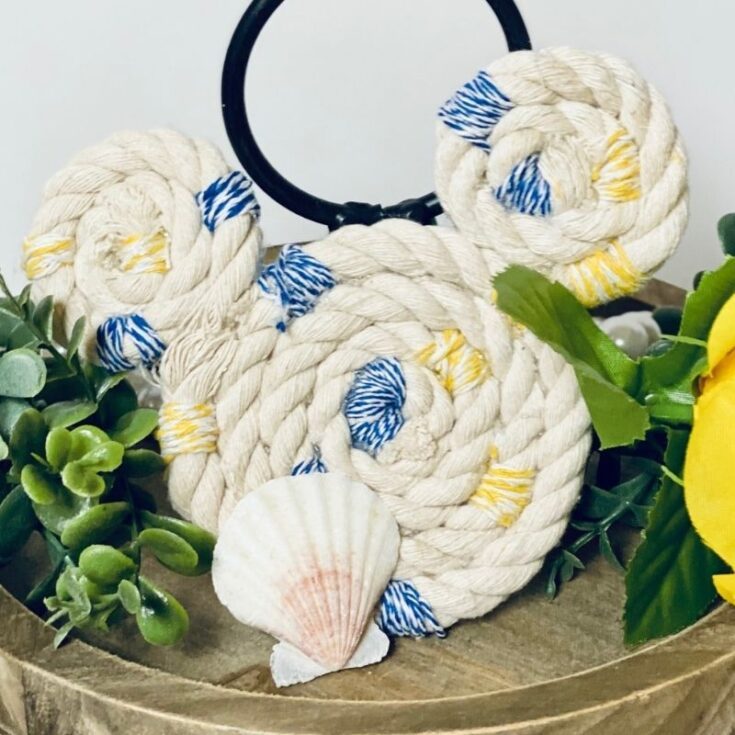
- Baker’s Twine – I did blue and yellow for an Ariel Disney Princess craft theme
- Ruler
- Scissors
How To Make
Full directions for the craft are in the printable card below. This is a quick overview on how to make the DIY craft.
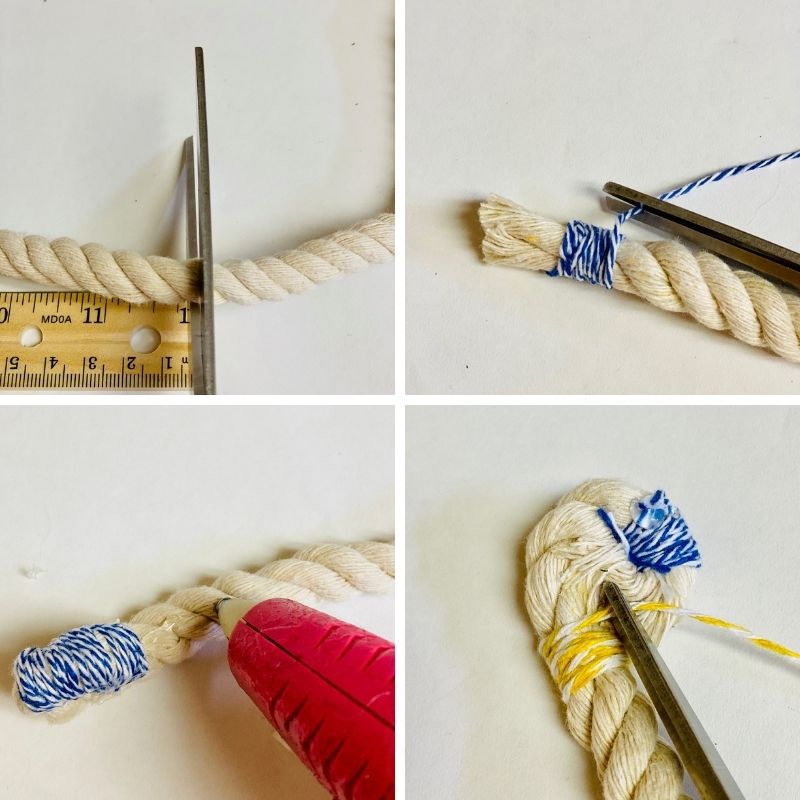
Step 1: Start by measuring your nautical rope. You need two pieces to measure 2 foot, and two pieces to measure 8 inches (these are the ears).
Step 2: Now you want to cut 6 inch sections of the baker’s twine. I did 8 blue and 8 yellow pieces.
You are welcome to adjust the colors and how many you want on your coasters.
Step 3: Now you will work in wrapping some of the baker colored twine around areas of the rope. Then add hot glue on the bottom to secure it into place.
Step 4: As you roll up the nautical rope, add hot glue and wrap tightly. This will secure the twine sticks together.
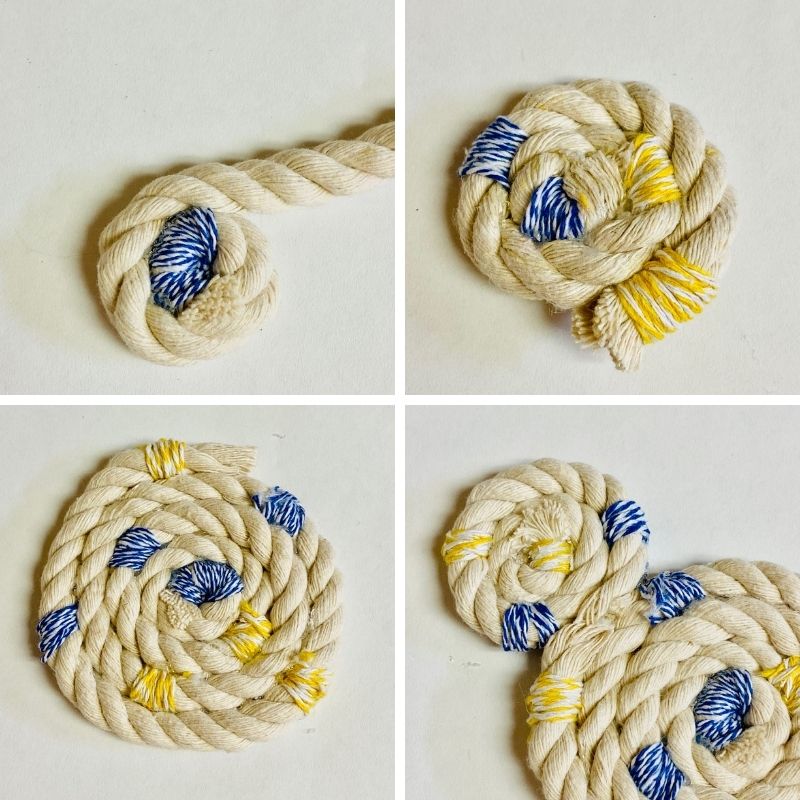
Step 5: Repeat until you have your main section wrapped. Then you will do the same for both of the Mickey ears. Then attach the ears to the main coaster with hot glue.
Variations To Disney Coasters
- Change up the colors of the twine. Red and black or pink and black could be cute for a classic Mickey.
- You can use strong glue instead of hot glue if you would prefer. I just find the best success with hot glue.
- Cut and shape some felt for the bottom of the coasters or even use a coaster sticker to place on the bottom to hide the bottom side of the coaster and offer more stability. Then just make the coaster the same size as the base.
Coaster FAQs
You have wiggle room in terms of the size a coaster should be. I recommend 3/8” up to 3/4” size. But for this Mickey ear coaster, it will be bigger with the Mickey Mouse ears.
You will need to apply two coats of a sealer on all areas of the coaster to make them waterproof. I used a Scotch Guard Spray for the outdoors. The nautical rope is harder to coat is why I reached for an outdoor spray.
More Fun DIY Craft Ideas
Connect with me on Facebook for more DIY Crafts, Home Decor, and more. As well as Pinterest!
Mickey Mouse Coasters - Nautical Theme
Learn how to make Mickey Mouse Coasters that are the Mickey Mouse head. This is a nautical-themed coaster. An under the sea, Ariel-inspired coaster to dress up your home or gift a loved one.
Tools
- Hot Glue Gun
- Ruler
- Scissors
Instructions
- Start by cutting your nautical rope. You will want to cut 2 (2-foot) lengths of the nautical rope. Then do 4 (8-inch) for the ears. This craft makes 2 Mickey mouse coasters.
- Then you will want to cut out 8 blue and 8 yellow sets of baker twines (6 inches) for each set of ears. So I did a total of 16 for each color. Feel free to adjust to your liking.
- Now you will start by wrapping one of the colors of twine around the end of the nautical rope. Add glue to stick the rope and twine together.
- Then you will begin to curl the rope, applying a line of glue to the rope so you are gluing as you go.
- Randomly add strings of the colored baker's twine to give it a pop of color as I did.
- Once you have the main coasters done, move on to the ears. Repeat the same process and then hot glue on the ears to each side of the coaster.
- Then if you want, you can use a sealant spray to make them waterproof. This is optional. I recommend spraying outdoors as the fumes can be strong.
Notes
Feel free to adjust the size of your coasters to your preference.
You can put a backing on your coasters if you would like. Just hot glue them to the back.
Use any color of baker's twine to adjust the look of your coasters!