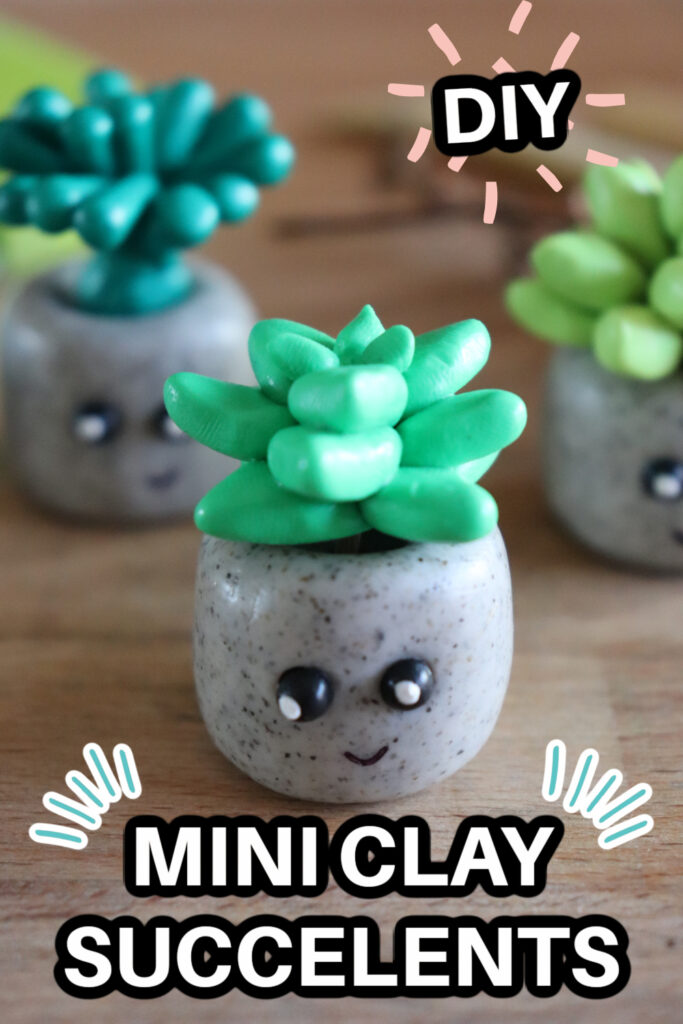
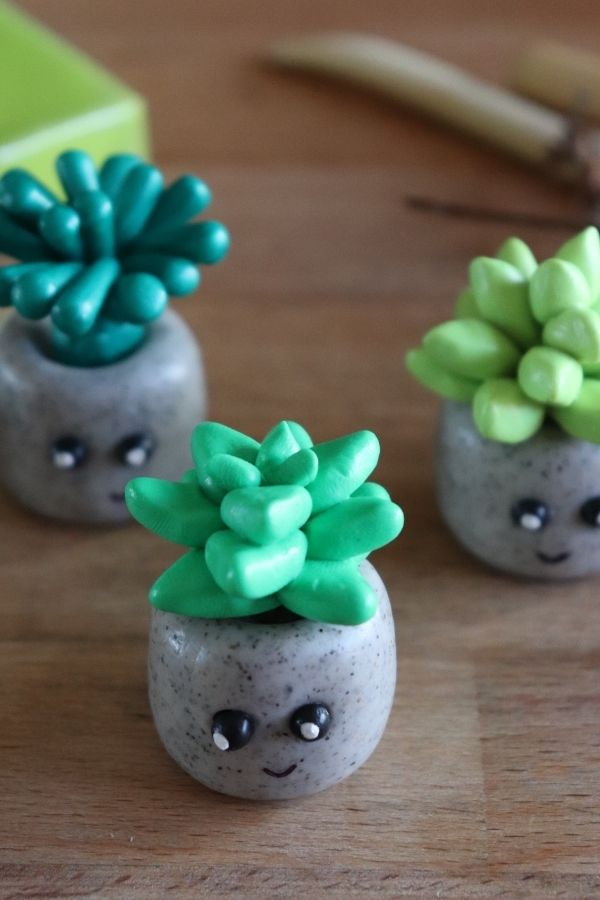
Check out these adorable mini clay succulents! This is an easy succulent craft idea that is a faux succulent to display in your home, a gift to your child’s teacher, etc. Learn how to make DIY miniature plants with this mini clay project.
Sometimes you just need to create faux plants with cute faces to make the world a better place. A fun pop to your home decor, office decor, or for your child’s room. These tiny succulents are so fun to make.

Table of contents
The possibilities are endless as to what you can create with these sculpey succulents.
Why Make these Clay Succulents
- Easy to Make
- Simple Supplies Needed
- Custom DIY Clay Succulents
- Bake the clay once done to help speed up the process
- You can make a succulent garden with your clay minatures
- No need to have a green thumb for this diy clay craft
What Do I Need For This DIY Craft
- Parchment paper
- Baking sheet
- Polymer clay in three greens, black and grey
- Clay cutting tools
- Toothpicks
- White paint
- Mod podge
- Paint brush
How to Make
Full directions for the craft are in the printable card below. This is a quick overview on how to make the DIY craft.
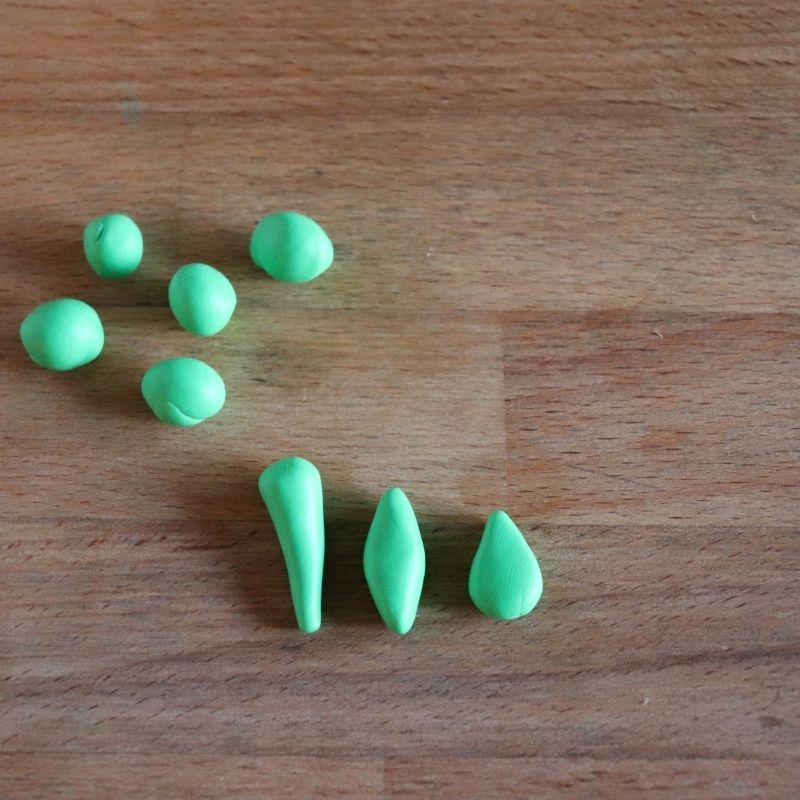
Step 1: Grab a bit of clay from each color, and roll into around 1 cm ball of each color. Then you will create different shapes for different succulents. Teardrop, leaves, and a cone shape.
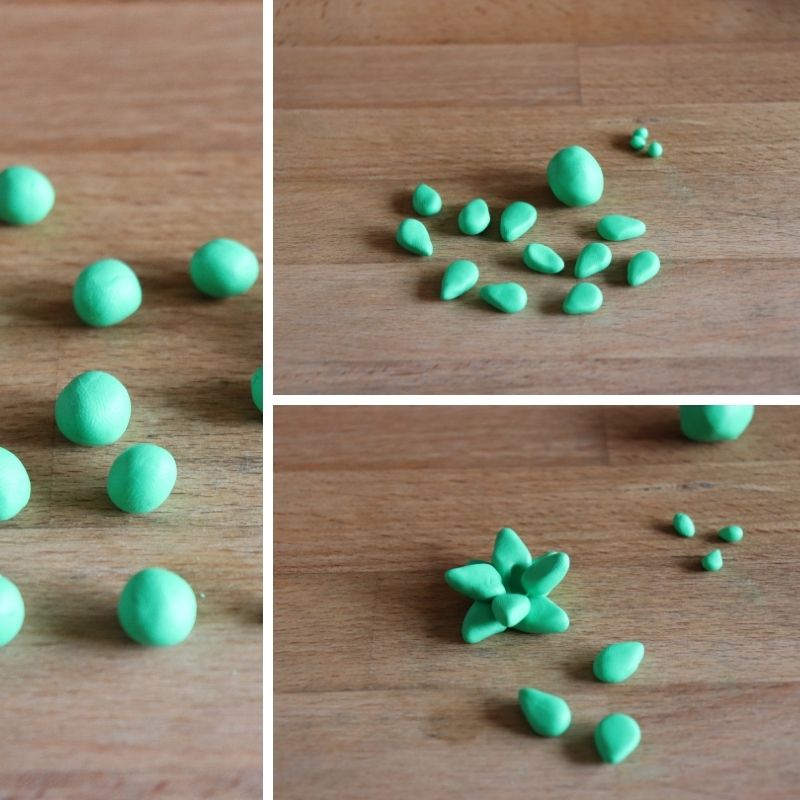

Step 2: Now you will repeat the shapes to make enough for each succulent. You will work on creating the layered look of each set of leaves. I share pictures of all of them.
Full steps on the clay succulents are in the printable card below.
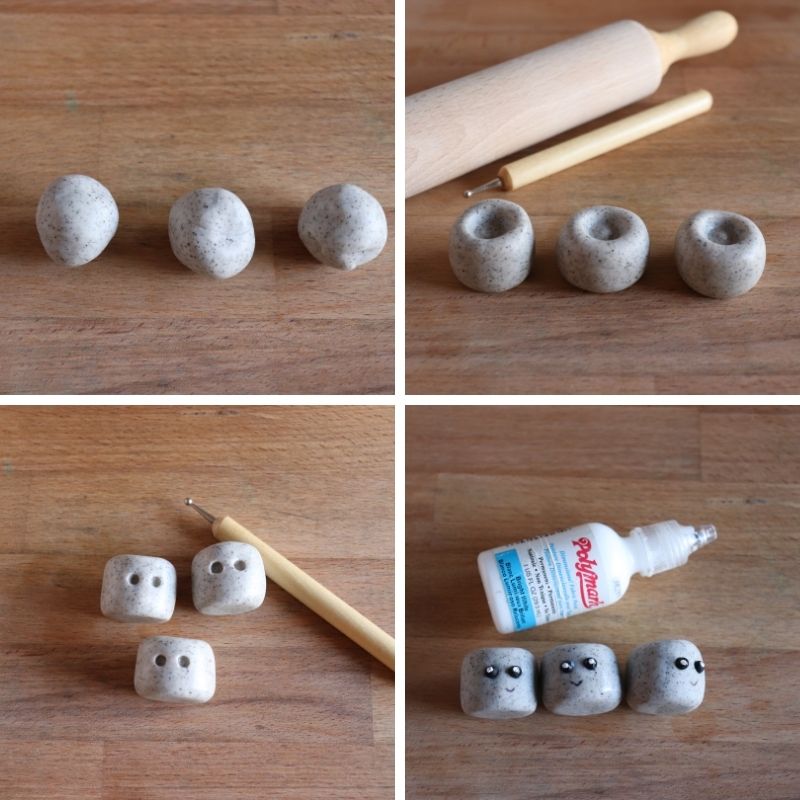
Step 3: Roll the grey clay into 3 – 5cm balls making the pots to place your succulents in. Then you will use your tools to hollow out the center, giving it a pot shape.
Add on the eyes are for eyes, you will finish them off once it is baked and cooled.
Step 4: Bake your clay in the oven as directed, and then assemble your pots with the succulents.
Paint on the eyes, and seal with the modge podge. Then display as you would like!
Craft FAQs
Here are some common questions when doing polymer clay miniatures like this miniature succulents craft here.
Polymer clay is modeling clay. This means you can shape and create, then bake or air dry to harden. Then you can put the artwork you created on display.
Depending on the brand of clay you use, will depend on how to bake. Follow the directions on the box of time and temperature. I place my clay on a parchment-lined baking sheet. That way your pan is protected with parchment paper.
If you do not use all your clay, make sure to place in a sealable bag, and remove as much air as possible. Store in a cool dry place, to prevent it from drying out from the sun or heat.
The modge podge is going to act as the sealant in this DIY craft. Just once the clay is baked and fully cooled you will then brush over the succulent with the modge podge. Allow it to fully dry and your craft is sealed.
Want More Fun Craft Ideas
Mini Clay Succulents
Mini Clay Succulents is a fun and easy polymer clay DIY craft. These mini succulents have adorable faces, and are a fun decor piece for your home, teenagers' room, or gift a loved one.
Materials
- Parchment paper
- Baking sheet
- Polymer clay in three greens, black and grey
- Toothpicks
- White paint
- Mod podge
Instructions
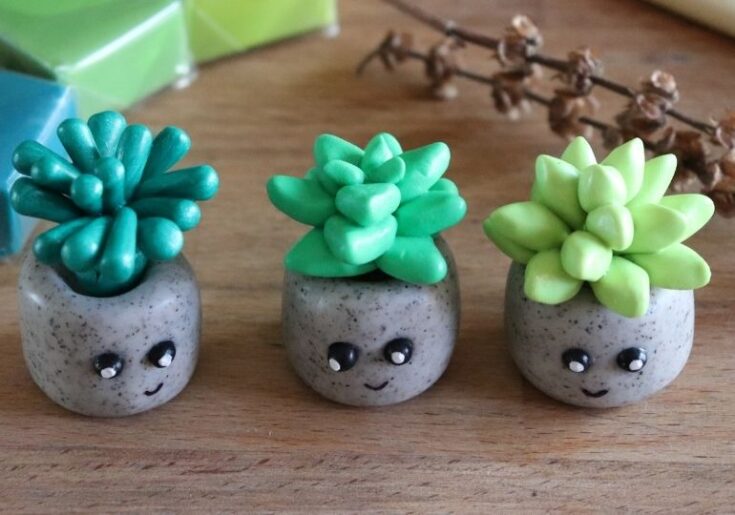
- Roll 1 cm clay balls in each of the three colors. Then you will form the balls into three different shapes to create three different succulent plants.
- Cone, teardrops, and leaves.
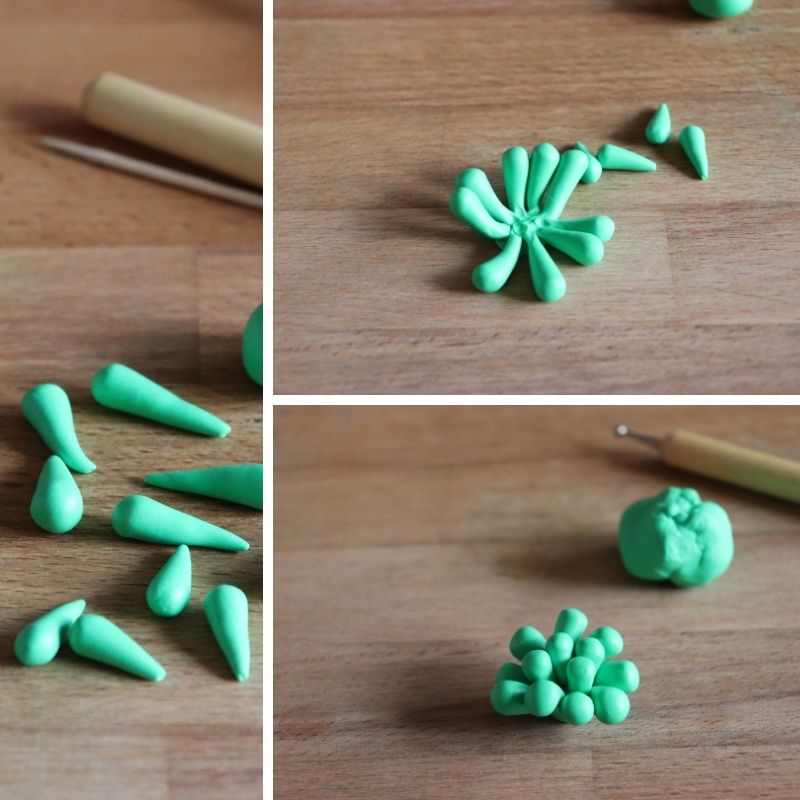
- Next, work on flattening a ball into a flat disk and press the cone shapes around the edge.
- Bring the cones up to the center and press them together to form one plant.
- Press four of the teardrops together at the rounded base.
- Layer alternatingly to create another plant.
- Press 6-8 of the leaves together at one end.
- Layer 4-6 of the leaves on top of that and finish with 3 more leaves.
- Poke a hole in the underside of each clay plant for a toothpick.
- Roll the grey clay into 3 - 5cm balls.
- Form the balls into cylinder shapes for pots.
- Poke a hole in the top with a toothpick and use a clay tool to press indents for the eyes.
- Roll 6 tiny black balls for eyes.
- Bake the clay as directed in the oven.
- Once the clay has cooled, glue the eyes into the indents.
- Paint a white dot on each eye and seal with mod podge.
- Using a toothpick, place each plant on the top of the plant pot.