This wooden pumpkin craft is the perfect farmhouse fall craft to make for your home. A rustic and creative wood pumpkin craft that is the perfect touch of fall.

I love diy fall decor for the home. It adds a personal touch that you can’t buy in the stores. These wooden rosette pumpkins are simple to make!
Wooden Pumpkins
Wooden pumpkins take just a bit of time, supplies, and a little paint to make. Once they are done gift to a loved one or showcase in your home.
What Type Of Wood Did You Use For Wood Pumpkins
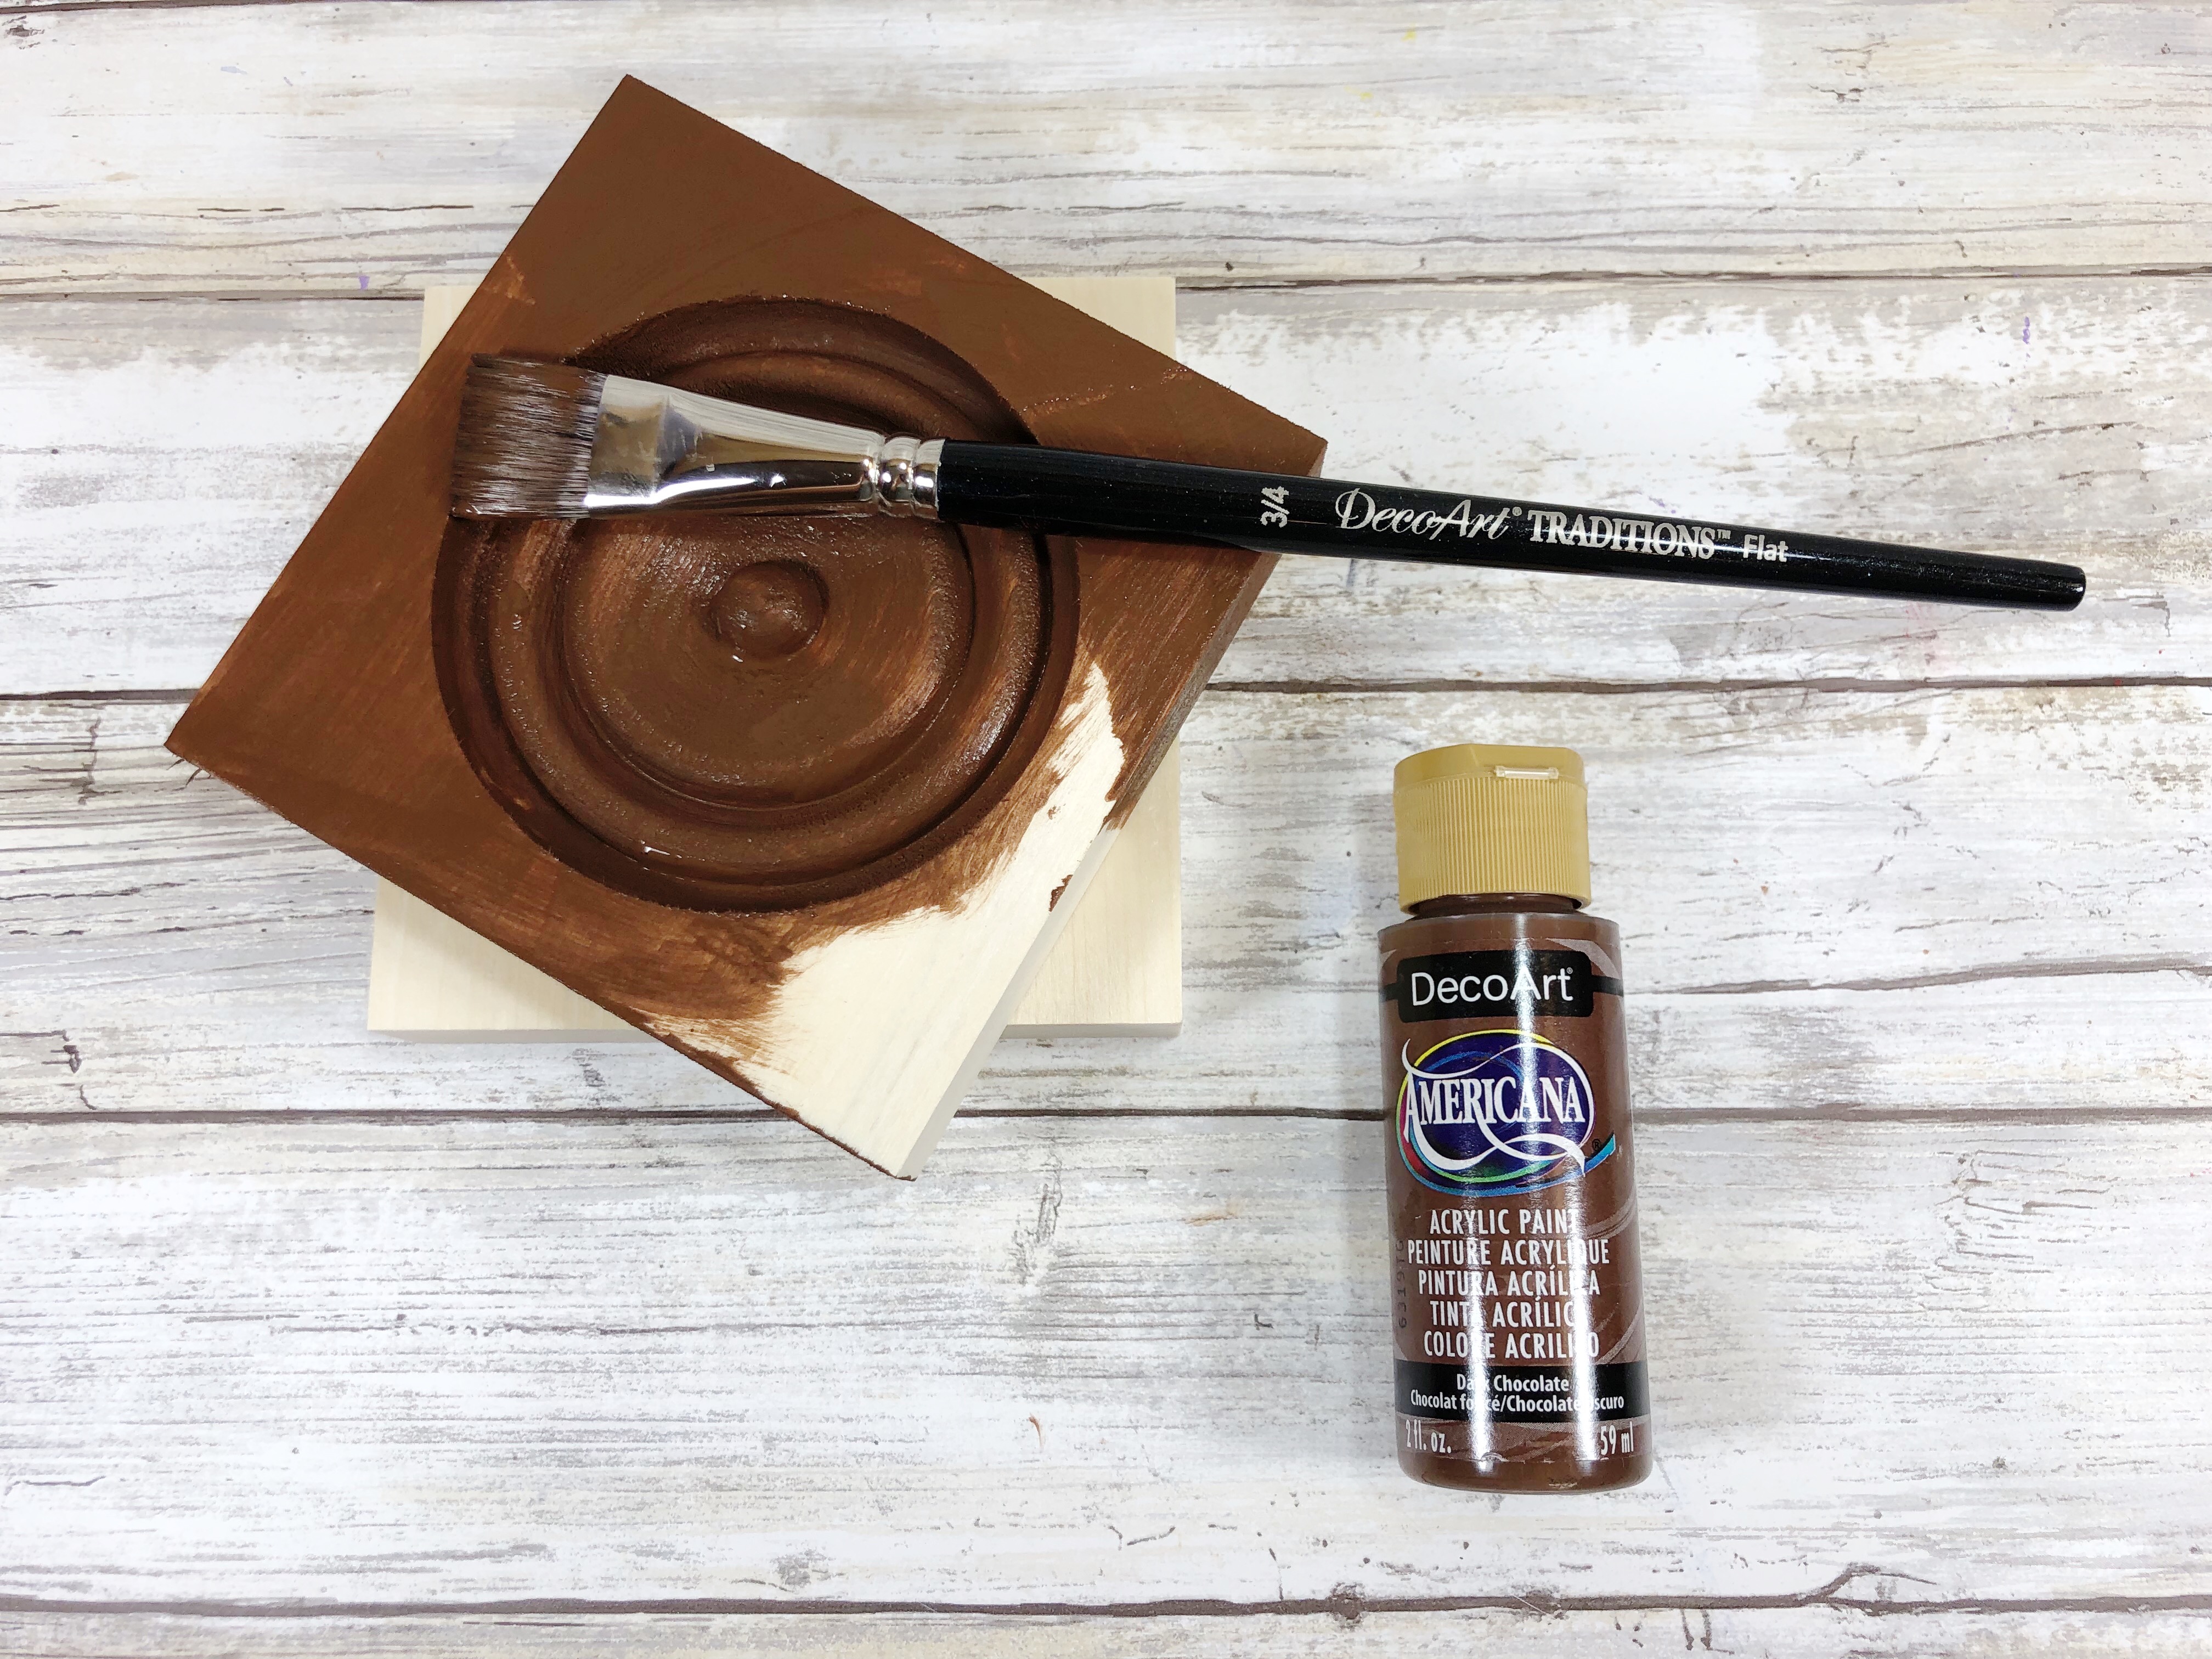
I bought wooden rosettes for my pumpkins. But, if you have scrap wood or square or oblong pre-cut Wood use that. This pumpkin craft works with almost any type of wood.
 What Paint Did You Use For Wooden Pumpkins
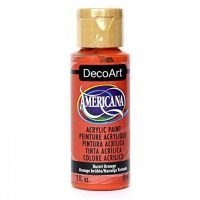
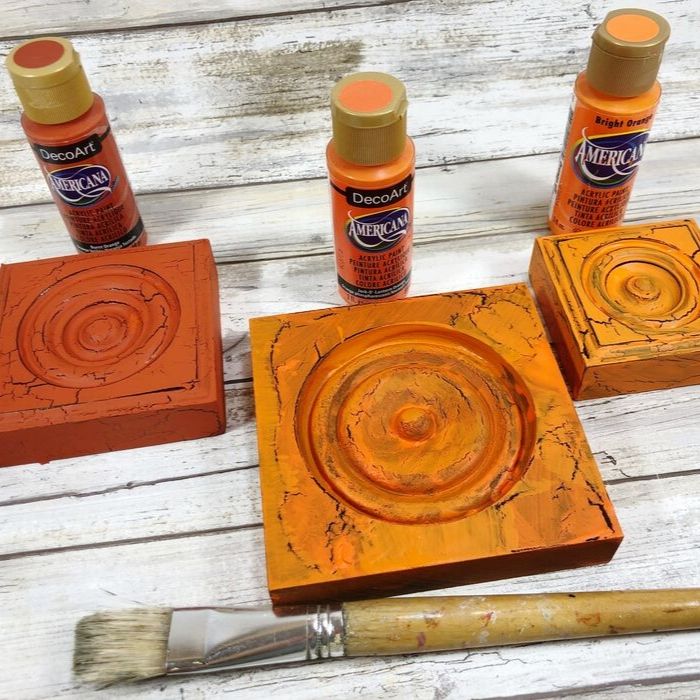
I went with acrylic paint from DecoArt. Dark chocolate and a variety of orange colors to add variety. Then on top I used a medium weathered wood crack to give it that crackle look.
- Americana acrylic paint from DecoArt – Dark Chocolate
; Bright Orange
; Jack-O-Lantern Orange
; Burnt Orange
- Americana Weathered Wood Crackle Medium


How to Decorate With Wooden Pumpkins
- Table | Whether it is an entryway table or desk in your home you can place these wood pumpkins out to display. The different sizes will add dimension to help them pop and stand out.
- Front Door | You could place these pumpkins on your front porch to greet your guests. Whether you sit them on a wooden crate or just on ground in the corner, they would look darling.
- Mantle | If you have a mantle in your home this could be the perfect spot. Add on other items to help add different elements of design.
What If I Don’t Have Wooden Rosettes
If you don’t want to buy rosettes feel free to find any type of square wood. You can then paint and decorate all the same. Granted it won’t have the same design but they would still look incredibly fun and offer that farmhouse feel!
Look for scrap wood that you can transform. I am all about crafting that doesn’t cost an arm and a leg to do!
Can I Paint My Pumpkins A Different Color
For sure, you can paint your wood pumpkins any color you want. Just make sure the paint you use will stick to wood. I think even a turquoise blue would look darling, and let them pop in color even more.
 Can I Make Stacked Painted Wooden Pumpkins
Yes, just don’t put stems on two of the pumpkins. Then pain and decorate like normal and then stack them on top and leave the one with the stem to be placed on top. Or if you want you can glue the pumpkins together so they stay. Or leave them to where you can take them apart if you so choose.
Give these painted wooden pumpkins and let me know what you think!
More Fall Decor Ideas
Wooden pumpkin craft that will dress up your home or office. These wooden pumpkins made from rosettes a try. As an Amazon Associate and member of other affiliate programs, I earn from qualifying purchases.Wooden Pumpkin Fall DIY Craft
Materials
Tools
Instructions
Recommended Products