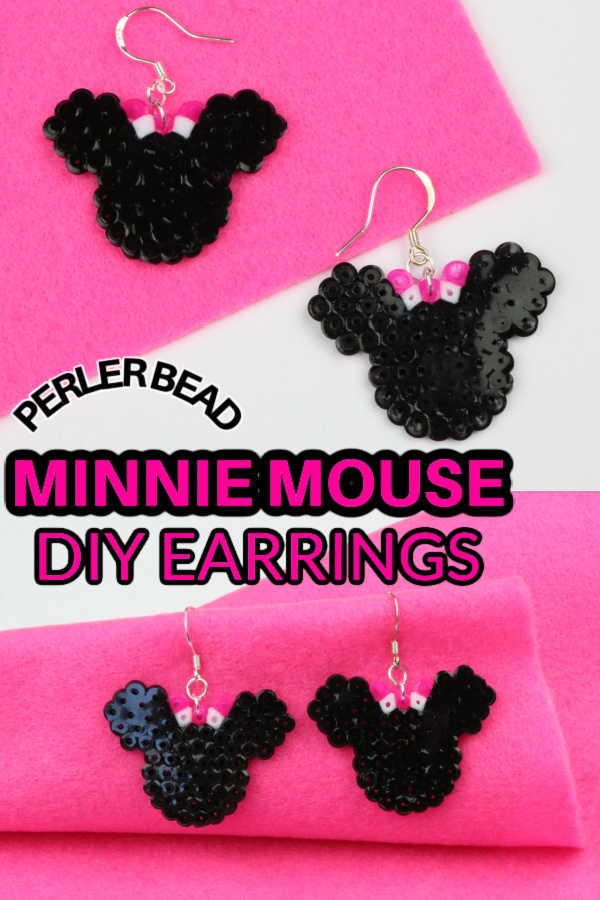
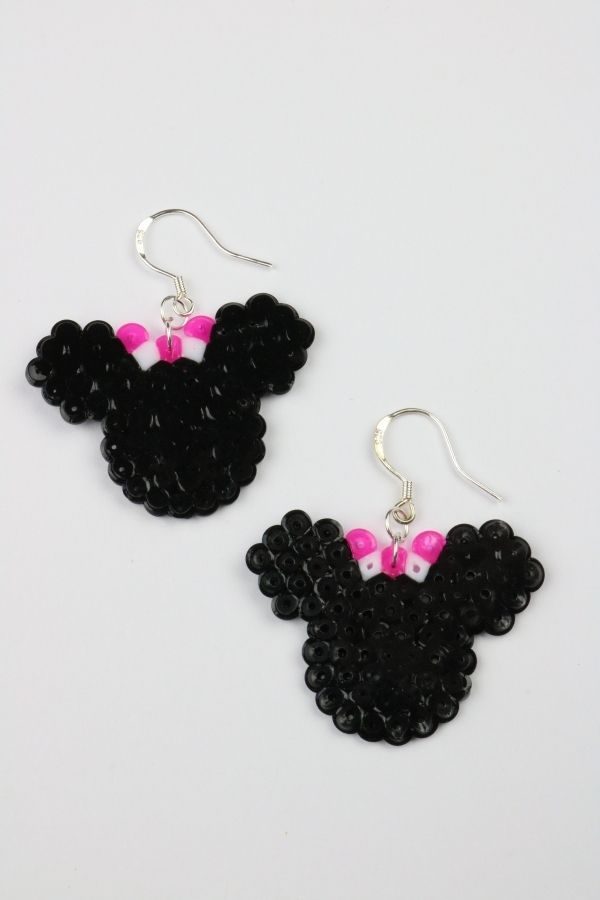
Did you know you can make perler bead earrings? Fuse your perler beads together and create any look or style. For me I did these Minnie Mouse fuse beads for a quick and easy DIY perler bead craft idea.
This would make a fun DIY gift to give, or to wear as you explore Disney World on a family vacation! No matter what the occasion these small perler bead earrings are so simple to make. Homemade Minnie Mouse earrings that are so easy to make.
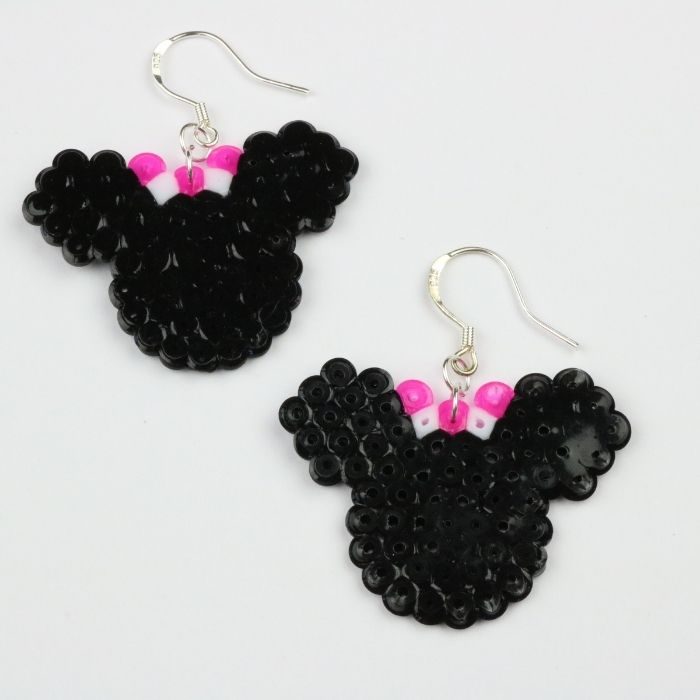
Table of contents
Why Make Perler Bead Earrings
- Affordable Mickey Mouse craft
- Easy to Make
- Great custom jewelry
- A fun Disney DIY craft idea
- Easy Minnie Mouse Earrings to keep or gift
Items Needed For DIY Project
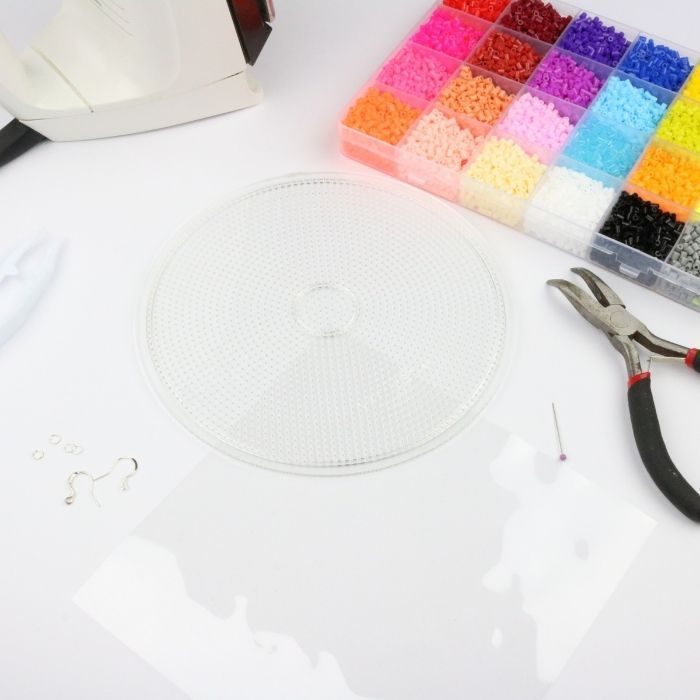
Perler Beads Kit – I used this kit which cake with all the things I needed for colors, storing, etc.
Earring Kit – This has the pieces you need for making the earrings that secure to the perler beans and that will loop into your ears.
Ironing Sheet Paper – I used parchment paper and it worked great. You can use the ironing paper it comes with as well.
Pliers – These are used to help secure the earring pieces onto the fused perler beads.
Iron – To stick the beads together you will need an iron to run over the top. This will fuse the beads together creating one whole piece.
What Color of Perler Beads Do I Need
White, pink, and black perler mini beads are what are needed to give you that classic Minnie Mouse theme. Feel free to change up your the color of her bow.
How to Make Perler Bead Minnie Mouse Earrings Tutorial
Full directions are in the printable tutorial card at bottom of the post. This is a visual walk through so you can see fully how to make your earrings.
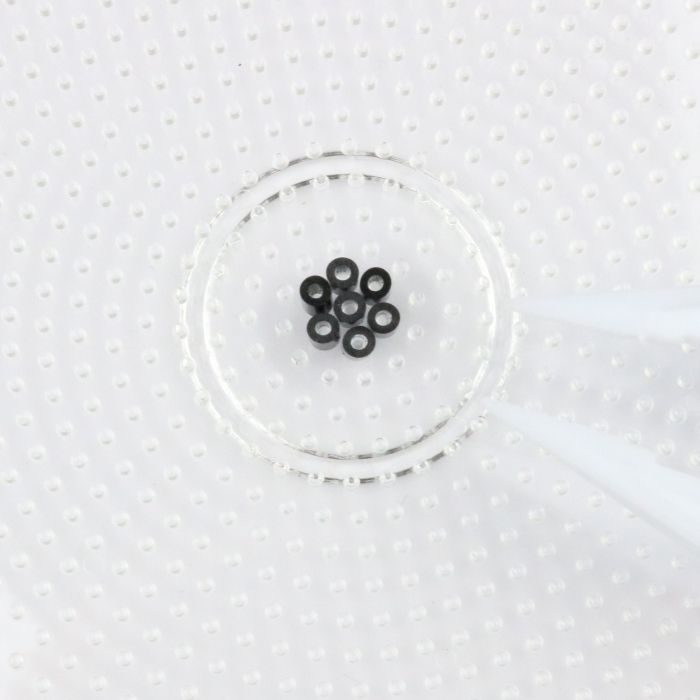
Step One: Grab one of the pegboards and start in the center and add a black bead.
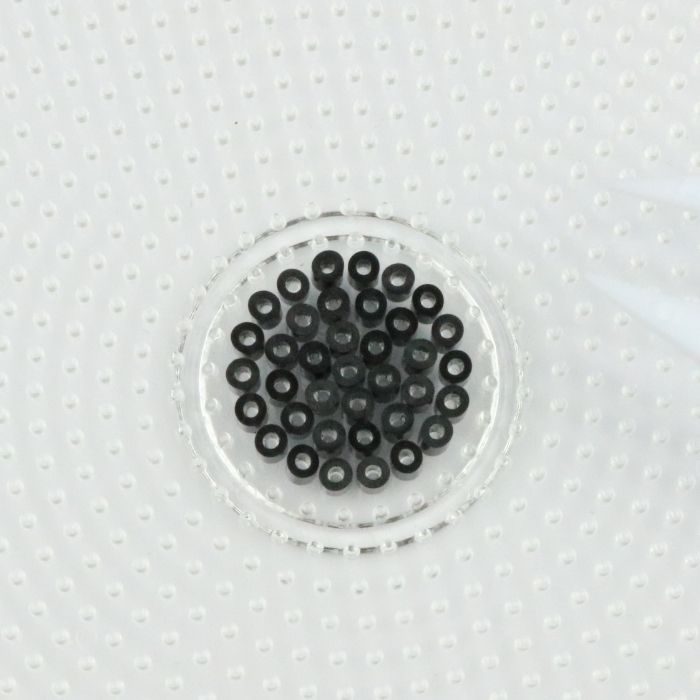
Step Two: Then you will work around the bead making 2-3 layers of black beads. It is up to you how large or small you prefer earrings.
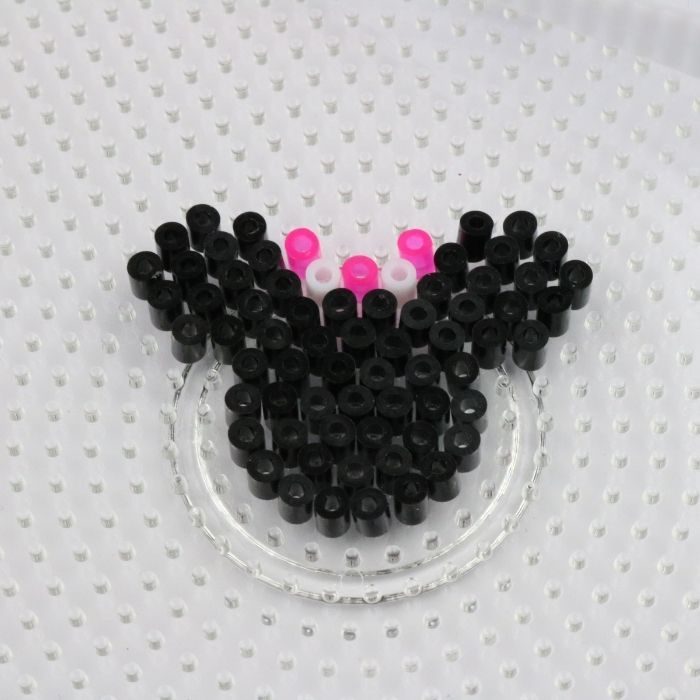
Step Three: Next, at the top of the outer row, add a pink bead in the center, then add white beads on each side of the pink. Then add another pink above the two white ones. This is the bow.
Step Four: On each side of the pink bead you need to make the Minnie ears. Do one row of black that starts with 3, then do two rows of 4, followed by a row of 3. This will give a circle look.
Step Five: Cover your beads with ironing sheet, and set side. Heat iron on medium heat.
Step Six: Then you will lightly cover the sheet with iron letting it fuse the beads together, for 30-40 seconds. Let cool slightly then flip and repeat to ensure it is fully fused.
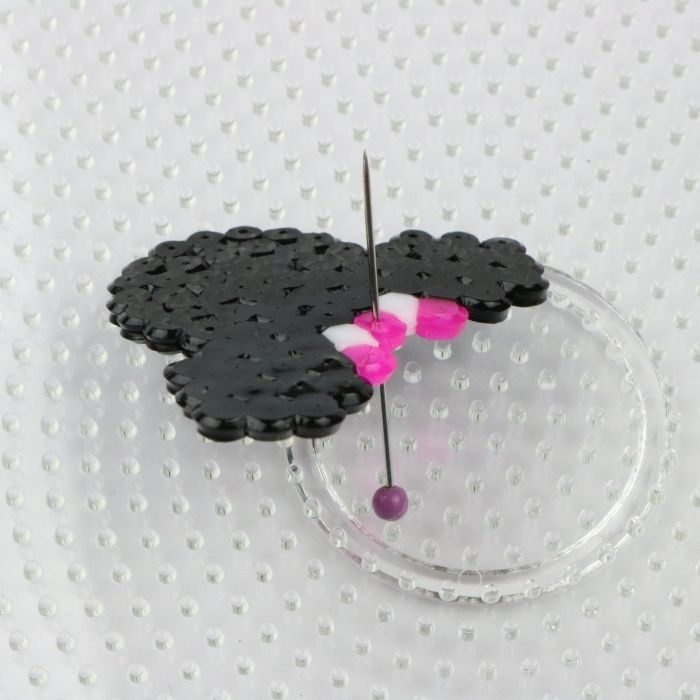
Step Seven: Next you will push a pin through the center of the pink bead, this is where you will add your earring hook. Feed the jump ring through and use pliers to pinch it back closed.
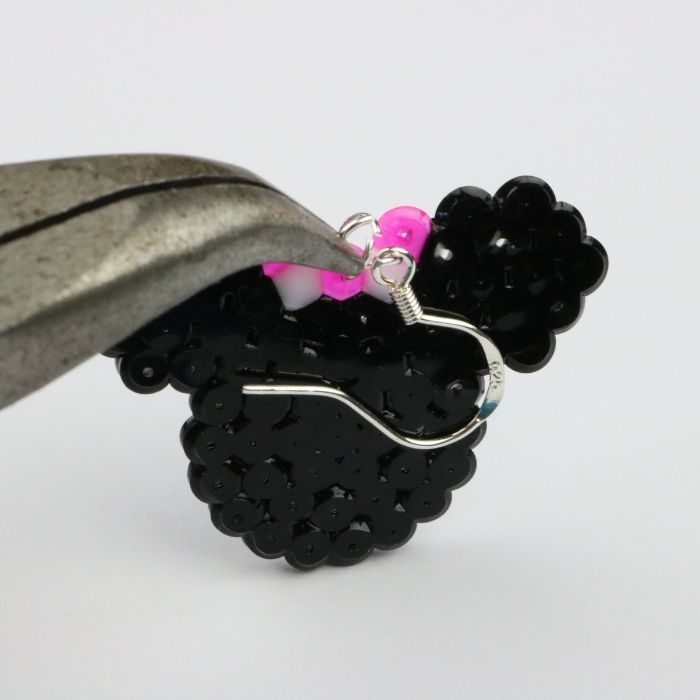
Step Eight: Add in the earring hook and pink together, then repeat for the second perler bead earrings.
Frequently Asked Questions
Common questions when making these homemade earrings. These Disney earrings craft are easy but there are some helpful answers to the questions.
First create your design, then fuse the beads on both sides with your iron. Use a needle to poke in, and then add your earring attachments onto the fused beads.
Perler beads can be placed on parchment paper and baked at 350 degrees F for about 30 minutes to fuse the beads. Make sure to not use wax paper as that will make a mess and not work.
You can fuse perler beads in the oven or even use a hot pan on the stove. Cover the beads as you would. Then place a hot pan on top of the paper and let the heat melt and fuse the beads together. Repeat process until the beads fuse. This will take longer, as the pan cools down after a bit.
More DIY’s To Try
More fun and easy crafts to make along with these Minnie mouse craft as featured here.
Connect with me on Facebook for more DIY Crafts, Home Decor, and more. As well as Pinterest!
How to Make Minnie Mouse Disney Perler Beads Earrings
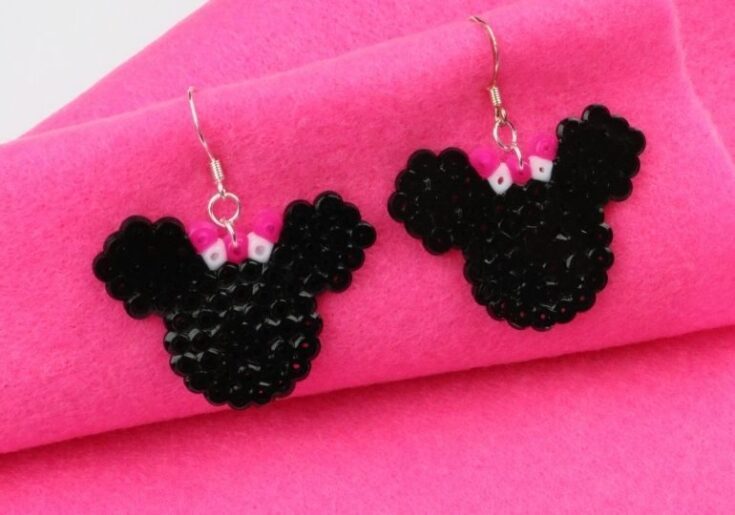
Learn How to Make Minnie Mouse Disney Perler Beads Earrings! These are so simple to make and offer a fun and playful look. Give these DIY Perler bead earrings a try for a Disney DIY project.
Materials
- 4- 4mm Jump Rings
- 2 - Fish hook Earrings
- Pegboard
- Black Perler Beads
- Pink Perler Beads
- White Perler Beads
Tools
- Iron
- Tweezers
- Stick Pin
- Ironing Sheet
- Jewelry Pliers
Instructions
- In the pegboard you will want to make a black bead in the center. Then work around making a circle.
- Repeat and do 2-3 more layers of black beads, around the main one.
- Then you will work on the bow. At the top of the row, you will add a hot pink bead in the center of the top. Then add a white bead on each side, and then two pink ones on top of the white one.
- To each side you will create the ears. I did a row of 3 beads. Then on top I did 2 rows of 4 and last a row of 3 beads to look like Minnie Mouse ears.
- Once your design is ready place ironing sheet on top, and with a medium heat iron fuse your beads for 20-30 seconds.
- Let it cool a bit remove, and repeat fusing the other side of the beads the same way.
- Then take a pin and pike in the center of the bow.
- Then work on getting your jump rings in the area where you poked the hole. Use the pliers to pinch closed once you get it attached.
- Next add on the earring hook end, securing it properly.
- Then you will repeat until you have your Minnie Mouse earrings completed!
Notes
Color Of Beads - You can use any color of perler beads as you would like.
Size - Go ahead and make your earrings as small or large as you would like. I did a small-medium size earring.
